How to Take Great Nature Photos: Know Texture

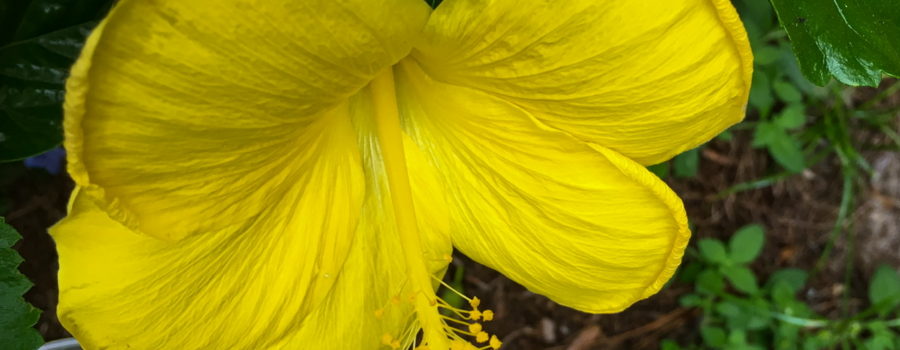
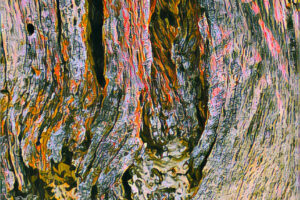
Nature (and in fact the entire world) is full of textures, and emphasizing textures in your photography can be a great way to create powerful photos. Everything we look at has texture, even something completely smooth, so I think it’s easy to take texture for granted, and forget how important it can be. Photos are, of course, completely flat, but by adding texture effectively we create depth in our images and we we create interest. If done well, the viewer can almost feel the texture when they look at a photo. Any time we can include another sense besides sight in interactions with our photos, we create interest and make our images more powerful. There are plenty of ways to include textures in your photos. In fact, several of the photography groups that I belong to have run contests based of showing textures in photos, and it is always interesting to see what people come up with.

Creating texture in our photos is done by using several of the aspects of light that we have discussed before. The direction of the light is one of the important factors in creating texture. To create a strong texture, light needs to be coming at our subject from an angle. Light contacting the subject at an angle is what creates highlights and shadows, which are the elements that result in textures being expressed in a flat photograph. The steeper the angle (up to 90 degrees and sometimes beyond) the more differences there will be between the highlights and the shadows, and the stronger the texture will be.

The second element of light that is involved in creating texture is color. Changes in color, like highlights and shadows, give a flat photograph depth. Lighter colors or shades of color tend to make components of the image look closer, while darker colors or shades of color tend to make things look further away (this is, of course, somewhat simplified). Even subtle changes in color can create texture in an image. And don’t leave out black and white images. Changes in the many, many shades of grey (far more than fifty, haha!) act the same way as changes in colors can in color photos. In fact, some textures look better in black and white than they do in color!

Finally, the quality of light is important in adding texture to a photo. As a general rule, a hard or harsh light will make stronger textures than a softer light. Again, this is somewhat simplified. For example, if the light is too hard, highlights may become “blown out” and change or even ruin the texture. Similarly, if light is too soft there may not be much difference between highlights and shadows, and the texture will be minimal. Using textures to increase the interest and power of our images requires a combination of all of these elements of light. Understanding how each of these elements works and how they work together is important in using textures in our photography. How do you guys use these elements to produce texture in your photos?


Recent Comments