How to Take Great Nature Photos: Watch Your Foregrounds and Backgrounds

Last week we discussed using the rule of thirds when taking nature photos. The rule of thirds is just one of a number of composition rules that help lead to better pictures. Today I want to move away from “rules” per se and talk about the components of an image, particularly the foreground and background. Most photos are made up of three parts, the main subject, the foreground, and the background. The main subject, of course, is the thing that the photograph is all about. It’s the thing you want the eye to be drawn to. The foreground is anything in front of the subject, and the background is anything behind the main subject. Ideally, both the foreground and the background should complement the subject, but should not draw the viewer’s eye away from the main subject. The type of foreground and background that you want to use depends on the type of photo you are shooting.

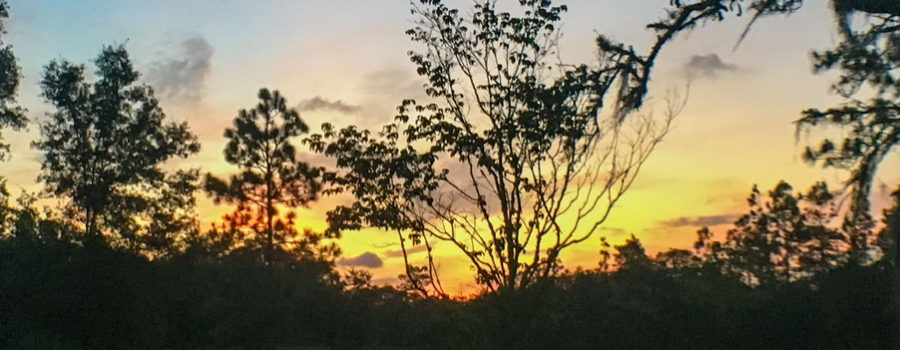
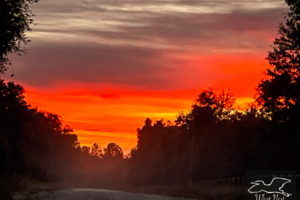
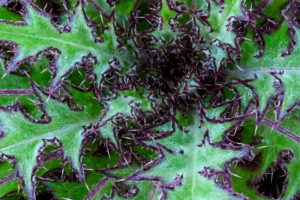
Let’s start with the simplest case. If you are shooting a closeup shot of something, you may decide to fill the entire field with the subject. In this case, you will have no foreground or background. Similarly, when shooting a landscape, the whole photo may be the subject. By adding an interesting foreground you can add to the appeal of your composition. The key is making sure that this foreground complements the rest of the landscape and draws the eye to the landscape. That means that the foreground should not be too busy or be colored with uncomplementary colors. One of the easiest ways to accomplish this is to silhouette the foreground.
But in most photos, the subject does not fill the whole field. This is where foregrounds and backgrounds become really important. This is probably the case with most of our nature images since our subjects are always surrounded by plenty of other things. Some of these things are attractive and make our subjects look better or more natural, while others do just the opposite. Ideally, we try to shoot our subjects from an angle where any unattractive items in the surroundings are not in our field of view, but since nature doesn’t always stop and pose for us, that’s not always possible. In foregrounds especially (but sometimes in backgrounds too) we can remove these unwanted features with cropping or other post processing tricks.

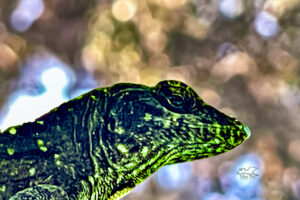
Another way to try to improve foregrounds and backgrounds is to change the depth of field. A prime example of this is the beautiful creamy backgrounds you often see in macro photographs. In order to get the magnification of the subject, a very shallow depth of field is necessary. Frequently, it’s difficult to even get the entire subject in focus in one shot, but backgrounds will always be out of focus and become blended resulting in that creamy look. This can often also be accomplished in regular photography, by adjusting camera settings to create a more shallow depth of field. The thing that is so attractive about those creamy backgrounds is that they provide color and perspective to our photos, but they help to emphasize the subject since it’s the only thing in focus. So once again people, get out there and practice! Keep your foregrounds and backgrounds in mind as you shoot (not just the subject). You’ll start to see an improvement in your compositions, and it will improve your power of observation as well. Does anyone have other tips for improving foregrounds and backgrounds? Please share with the rest of us!


Recent Comments