How to Take Great Nature Photos: Know Light
Light is what makes a photograph. When photography first began, it was the science of exposing a piece of film to various amounts of light to make an image. Now it is recording light in a digital format, but the principals are the same as ever. I could spend time talking about ISO and aperture speed (which are important to understand, but not the point I’m trying to get to with this post) or I could recommend that you purchase all sorts of expensive equipment that can do all sorts of amazing things and will take you forever to figure out. The fact of the matter is that I personally take all of my photos with an iPhone XS. I take some of my pictures with the regular built in camera app, which will allow some control over focus and exposure, but nothing else. Most of the time, this works amazingly well. If I want more control, I use the Camera+ app, that allows me to control ISO and aperture speed like a regular DSLR camera. My point is, you don’t need to spend vast amounts of money to get great photos!

There are several qualities of light that are important to understand to be able to get good photos. These include quality of light, color, direction, and intensity. I will go into these in more depth in later posts, but right now I just want to touch on some basics. As with the other aspects of light, light quality is a spectrum ranging from intense to highly diffused. An example of an intense or concentrated light source would be a flash or a spot light, whereas a highly diffused light would be moonlight at midnight. An intense light will produce sharp, deep shadows, while a diffused light makes softer, less intense shadows. People may also describe this aspect of light as hard light vs soft light.

Light color is also a spectrum which most of us are familiar with. Remember the old ROYGBV (Red, Orange, Yellow, Green, Blue, Violet) acronym we learned in grade school. This particular spectrum refers to the wavelength of visible light. The color of your light source is referred to as temperature in photography, and it influences all the colors in anything that you photograph. For example, a bluish light source will tend to make the yellows in your subject have a greenish tint, while a yellow light source will tend to turn the subject’s blue shades greenish. This can greatly change the outcome of the picture you have taken.

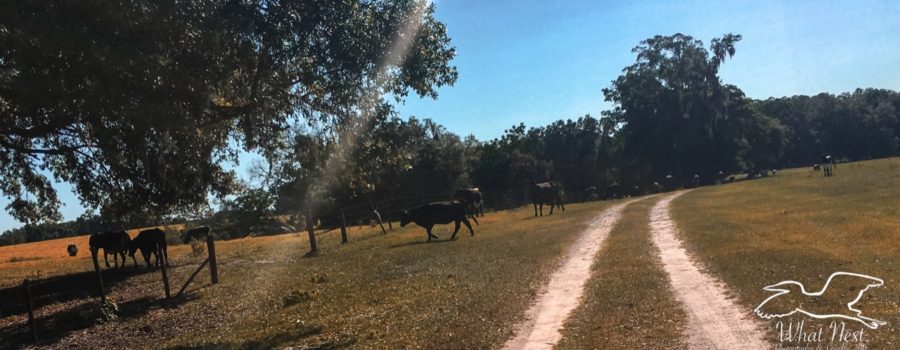
Direction of light is also incredibly important in the outcome of a photo. For example, to get a silhouette, the light source has to be behind the subject, while to get great subject detail you want the light behind the photographer. Again, direction is a spectrum since the light source can be anywhere in a 360 degree circle around the subject and the photographer. The direction of the light will determine what aspects of the subject stand out or are highlighted, and which aspects of the subject are hidden in shadows.

The final aspect of light we will talk about today is intensity, and like the others, it is a spectrum. Light intensity is similar to light quality and ranges from strong to weak. A very strong light has a tendency to wash out highlights while a weak light source tends to completely hide parts of the subject in shadows. Learning and understanding how to use these qualities of light is essential to being able to take great shots. There are plenty of articles and videos out there on this subject, and they can be very useful, but the best way to learn to see light like a photographer is to practice. Take various shots of the same subject in different light settings and from multiple angles. Learn what works and what doesn’t. Develop a style that works for you. And most importantly, have fun!!!


Recent Comments